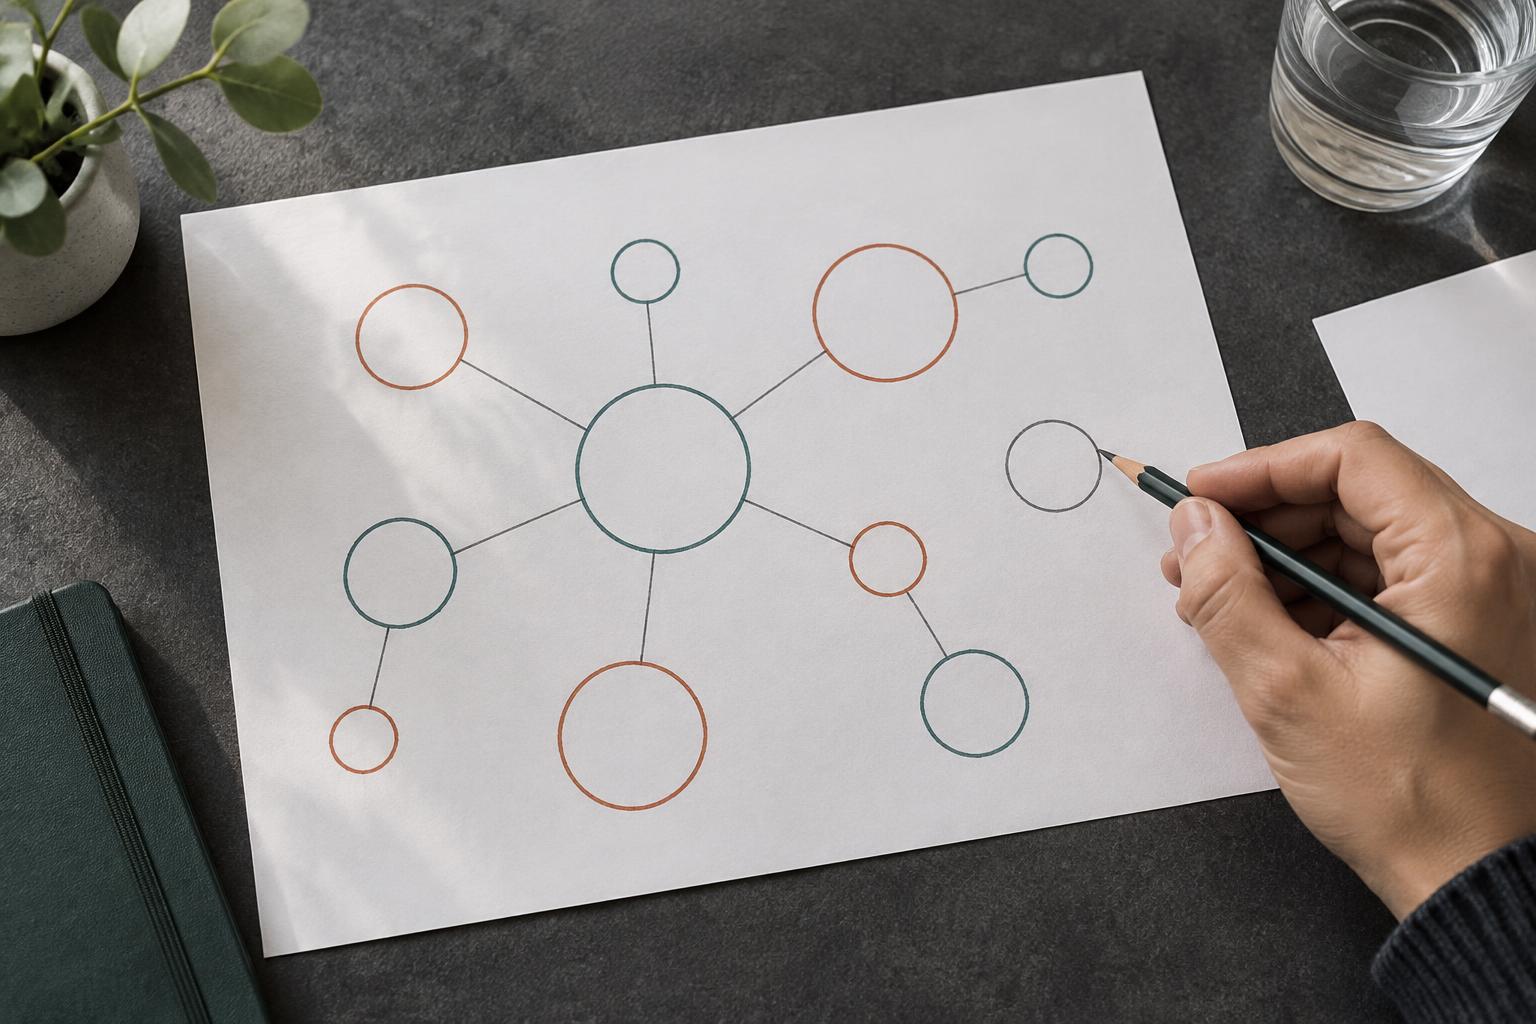
A while ago I wrote about what an influence map is. It's the most-read article on this blog. But rereading it, I realise it stayed at the tool level. The interesting part happens when someone actually uses it, just before deciding something that's difficult for them.
The Almost-Made Decision
We all know how this often ends in organisations: the decision is presented already cooked, with its analysis and communication plan, and there's a name no one has wanted to put on the table. "We don't need to talk to him, we already know what he's going to say." That phrase—we've heard it or said it—isn't about lack of time. It's an uncomfortable conversation. And it's precisely the one that decides whether the decision moves forward or stays on paper.
The analysis is usually well done: numbers, scenarios, assessed risks. What's almost always missing is the map. When someone sits down to draw who's really around that decision, the drawing comes out incomplete. The committee appears, the person in charge, the affected team. Usually someone's missing: the person without a title whom everyone listens to, the veteran who doesn't vote but can make the decision die in the corridors, the external adviser who's consulted before anyone else.
What to Look at in the Map
Before a difficult decision, the map becomes useful when you go through it with four questions:
- Who decides, who influences, who executes and who can block? They're not the same people, and confusing them is the most common mistake.
- From where does each one influence? The 5 bases of power by French and Raven help here. Influencing from position isn't the same as from knowledge or trust, and each case calls for a different approach.
- What position does each one really hold? Silence isn't agreement.
- Who am I avoiding talking to, and why?
From there comes something very practical: the order of conversations. Listening first to influential neutrals, understanding what those who oppose fear losing, and asking allies for something concrete, not just their support.
Your Place in the Map
There's one last step almost no one takes: placing yourself. Read through the lens of Leadership Circle, the most common pattern relates to Controlling and Distant. Deciding alone gives security, being right gives identity, and avoiding those who might disagree protects both. It works until the decision, correct on paper, meets people who never made it their own.
There the map stops being a diagram of others and becomes a mirror. I include myself: when the decision is mine, I also have someone I haven't talked to because I already know what they're going to say.
An Exercise for Your Next Decision
- Write the decision in a single sentence.
- Draw the actors with circles proportional to their influence and mark their position: in favour, neutral or against.
- Note from which power base each one influences.
- Point out the conversations you're avoiding and decide in what order to have them.
- Place your own circle and ask yourself from where you're deciding.
I'll leave you with a question, in case it resonates: in the next difficult decision you have ahead, who's missing from your map?
If you have one of those decisions on the table and want to look at it with someone from outside, let's talk.
Did this resonate?
If this connects with something you're working on, let's talk.
30 minutes by video call. No commitment. You'll know if I can help and, if I can't, I'll tell you who can.
Book a conversation →